* sln: set output dir prefix to "modules\" for all modules * sln: CopyToOutputDirectory only when necessary * sln: intermediate dir for csprojs * sln: intermediate dir for vcxprojs * sln: add PT as runner project deps + remove nonexisting project confs * sln: remove AnyCPU for win-app-driver project |
||
|---|---|---|
| .. | ||
| common | ||
| MarkdownPreviewHandler | ||
| MarkDownPreviewHandler | ||
| powerpreview | ||
| powerpreviewTest | ||
| PreviewPaneUnitTests | ||
| SvgPreviewHandler | ||
| UnitTests-PreviewHandlerCommon | ||
| UnitTests-SvgPreviewHandler | ||
| README.md | ||

PowerPreview
Adding Custom Preview Handlers to Windows File Explorer Preview Pane.
Overview · Developing · MSIX Integration · Contributing »
Overview
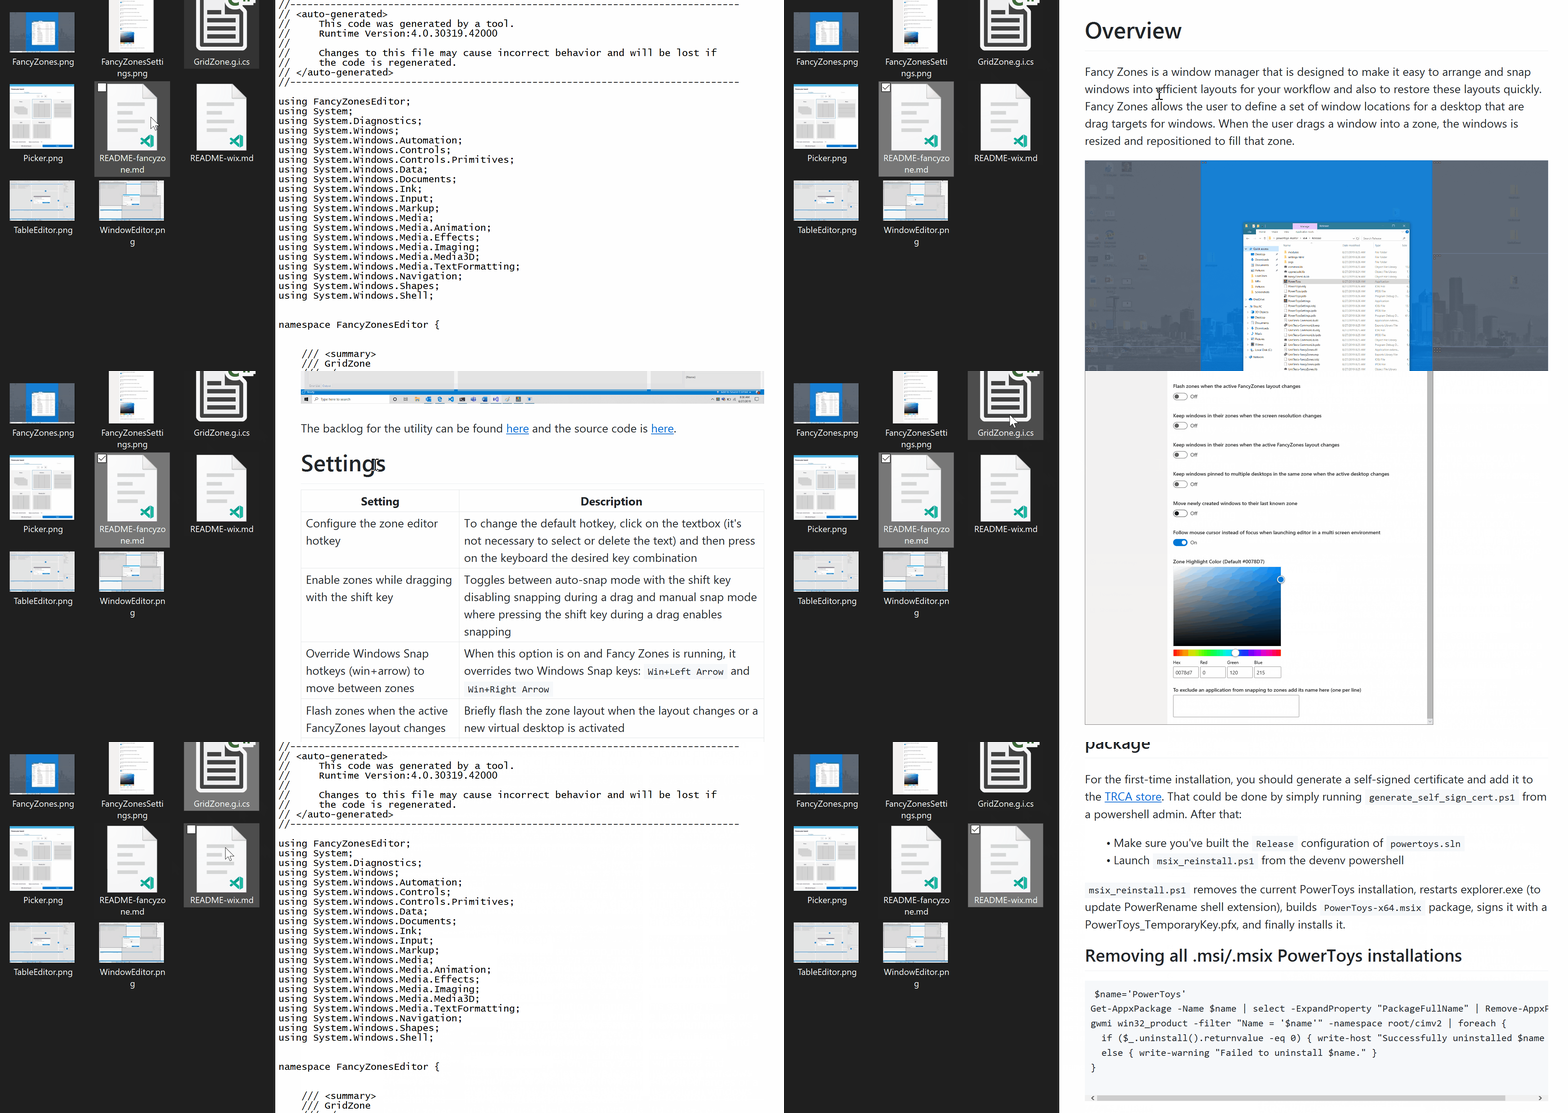
Preview handlers are called when an item is selected to show a lightweight, rich, read-only preview of the file's contents in the view's reading pane. This is done without launching the file's associated application. Figure 1 shows an example of a preview handler that preview a .md file type. Please follow this documentation to start developing a preview handler, when done, continue with this documentation to learn how to integrate a preview handler into PowerToys.

Developing
We have already done most of the development work in the PreviewHandlerCommon common project. To add a preview for the file type of .xyz:
- Add a new .NET project in the preview pane folder.
- Add a reference to the
PreviewHandlerCommoncommon project. - Create your preview handler class and extend the FileBasedPreviewHandler class. See an example below:
using System;
using System.Runtime.InteropServices;
using Common;

namespace XYZPreviewHandler
{
    /// <summary>
    /// Implementation of preview handler for .xyz files.
    /// GUID = CLSID / CLASS ID.
    /// </summary>
    [Guid("xxxxxxxx-xxxx-xxxx-xxxx-xxxxxxxx")]
    [ClassInterface(ClassInterfaceType.None)]
    [ComVisible(true)]
    public class XYZPreviewHandler : FileBasedPreviewHandler
    {
        private XYZPreviewHandlerControl xyzPreviewHandlerControl;

        /// Call your rendering method here.
        public override void DoPreview()
        {
            this.xyzPreviewHandlerControl.DoPreview(this.FilePath);
        }

        protected override IPreviewHandlerControl CreatePreviewHandlerControl()
        {
            this.xyzPreviewHandlerControl = new xyzPreviewHandlerControl();
            return this.xyzPreviewHandlerControl;
        }
    }
}
Create a separate Preview Handler Control class and extend the FormHandlerControl Class.
using Common;

namespace XYZPreviewHandler
{
    public class XYZPreviewHandlerControl : FormHandlerControl
    {
        public XYZPreviewHandlerControl()
        {
            // ... do your initializations here.
        }

        public override void DoPreview<T>(T dataSource)
        {
            // ... add your preview rendering code here.
        }
    }
}
Integrate the Preview Handler into PowerToys Settings:
Navigate to the powerpreview project and edit the powerpreview.h file. Add the following Settings Object instance to m_previewHandlers settings objects array in the constructor initialization:
// XYZ Preview Handler Settings Object.
FileExplorerPreviewSettings(
    false,
    L"<--YOUR_TOGGLE_CONTROL_ID-->",
    L"<--A description of your preview handler-->",
    L"xxxxxxxx-xxxx-xxxx-xxxx-xxxxxxxx", // your preview handler CLSID.
    L"<--A display name for your preview handler-->")
Install With MSIX
<---To Do--->
Managing Preview Handlers
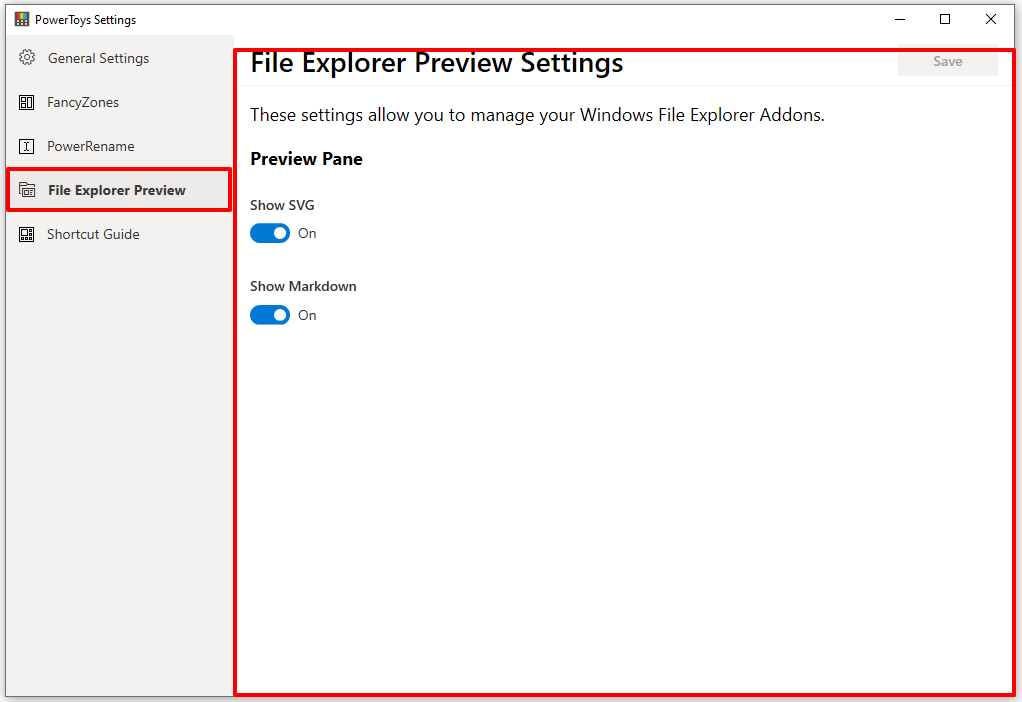
After successful integration, your preview handler should appear in the PowerToys settings UI under the File Explorer Preview Tab as shown in Figure 2 below. In here you should be able to enable and disable your preview handler.

In the general settings of the Settings UI, you should be able to disable and enable all the preview handlers all at once. See Figure 3.

Contributing
Coding Guidance
Working With Strings
YOU SHOULD NOT have hardcoded strings in your C++ code. Instead, use the following guidelines to add strings to your code. Add the ID of your string to the resource file. XXX must be a unique int in the list (mostly the int ID of the last string id plus one):
resource.h:
#define IDS_PREVPANE_XYZ_SETTINGS_DISPLAYNAME XXX
powerpreview.rcunder strings table:
IDS_PREVPANE_XYZ_SETTINGS_DISPLAYNAME L"XYZ Preview Handler"
- Use the
GET_RESOURCE_STRING(UINT resource_id)method to consume strings in your code.
#include <common.h>

extern "C" IMAGE_DOS_HEADER __ImageBase;

std::wstring GET_RESOURCE_STRING(IDS_PREVPANE_XYZ_SETTINGS_DISPLAYNAME)
More On Coding Guidance
Please review these brief docs below relating to our coding standards etc.
👉 If you find something missing from these docs, feel free to contribute to any of our documentation files anywhere in the repository (or make some new ones!)