* Create management-api

* Create getting-started

* Create Introduction

* Rename Introduction to Introduction.md

* Rename getting-started to getting-started.md

* Rename management-api to management-api.md

* Create webhook.md

* Create simple-collaboration-app.md

* Create jwt-authentication.md

* Delete docs/cloud directory

* Delete docs/tutorials.md

* Update links.yaml

* Update links.yaml

* Rename Introduction.md to introduction.md

* Delete docs/tutorials directory

* Update links.yaml

* Update links.yaml

---------

Co-authored-by: ThisDavidRichard <147505039+ThisDavidRichard@users.noreply.github.com>
2.8 KiB
Getting Started
Installation
First you need to install @hocuspocus/provider at least in version 2.0.0.
npm install @hocuspocus/provider
Basic Usage
Tiptap Collab makes your application collaborative by synchronizing a Yjs document between connected users using websockets. If you're already using Yjs in your application, it's as easy as this:
import { TiptapCollabProvider } from '@hocuspocus/provider'
import * as Y from 'yjs'

const provider = new TiptapCollabProvider({
  appId: 'your_app_id', // get this at collab.tiptap.dev
  name: 'your_document_name', // e.g. a uuid uuidv4();
  token: 'your_JWT', // see "Authentication" below
  document: new Y.Doc() // pass your existing doc, or leave this out and use provider.document
});
Upgrade From Hocuspocus
If you are upgrading from our self-hosted collaboration backend called Hocuspocus, all you need to do is replace HocuspocusProvider with the new TiptapCollabProvider. The API is the same, it's just a wrapper that handles the hostname to your Tiptap Collab app and authentication.
Example
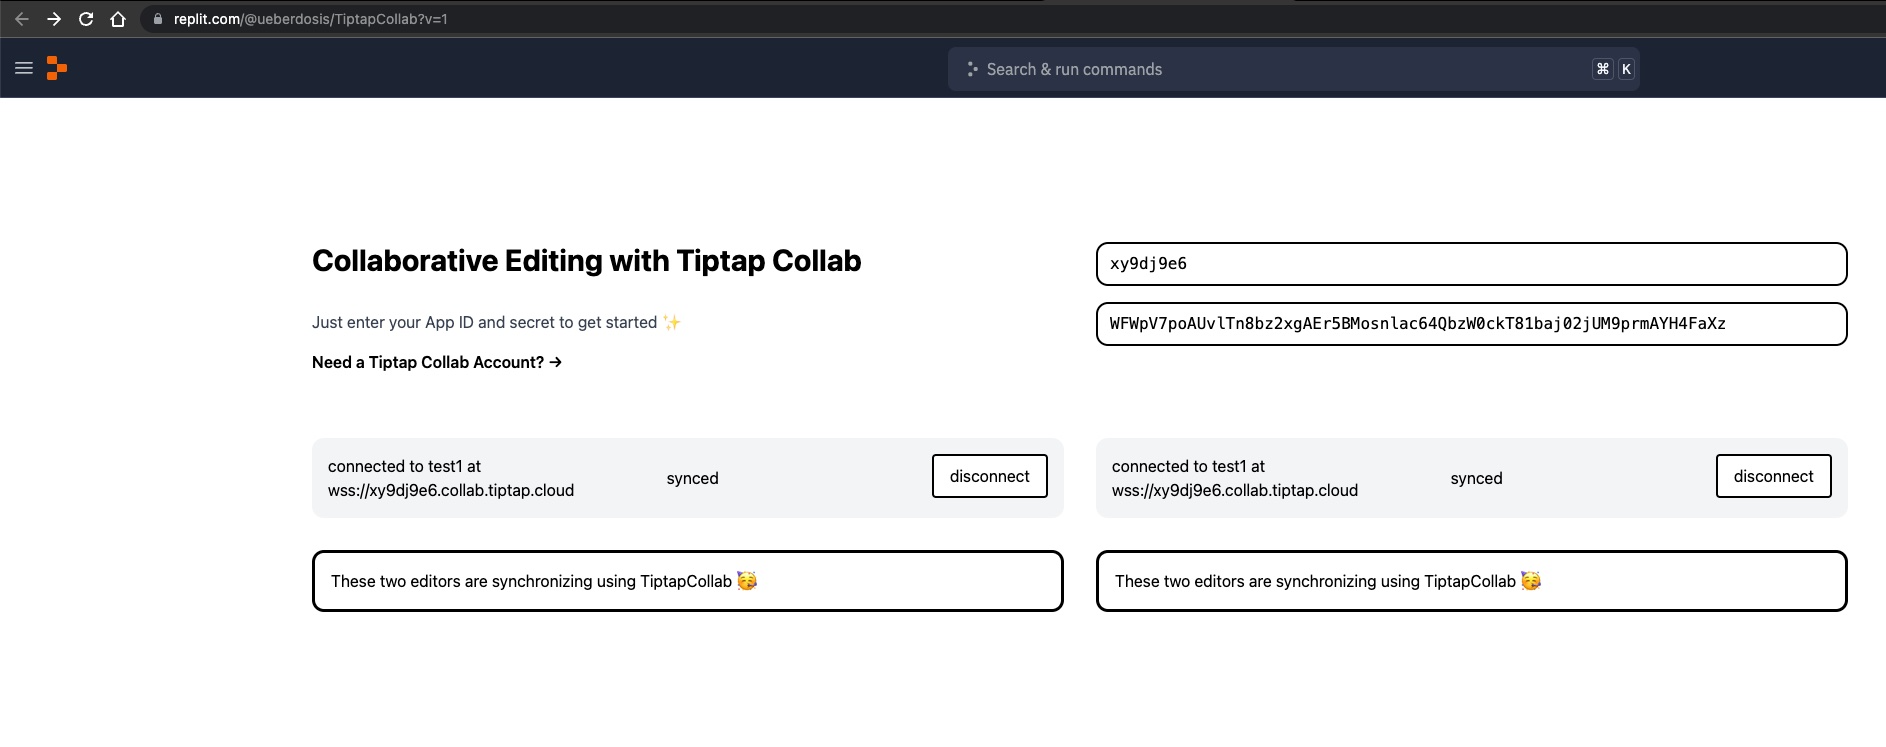
We have created a simple client / server setup using replit that you can review and fork here:
The example loads multiple documents over the same websocket (multiplexing), and shows how to implement per-document authentication using JWT.
More tutorials can be found in our Tutorials section.
Authentication
Authentication is done using JSON Web Token (JWT). There are many libraries available to generate a valid token.
JWT Generation
To generate a JWT in the browser, you can use http://jwtbuilder.jamiekurtz.com/. You can leave all the fields as default, just replace the "Key" at the bottom with the secret from your settings.
In Node.js, you can generate a JWT like this:
import jsonwebtoken from 'jsonwebtoken'

const data = {
  // Use this list to limit the number of documents that can be accessed by this client.
  // An empty array means no access at all.
  // Not sending this property means access to all documents.
  // We are supporting a wildcard at the end of the string (only there).
  allowedDocumentNames: ['document-1', 'document-2', 'my-user-uuid/*', 'my-organization-uuid/*']
}

// This JWT should be sent in the `token` field of the provider. Never expose 'your_secret' to a frontend!
const jwt = jsonwebtoken.sign(data, 'your_secret')
